🙂 In this session, we are going to learn how to add some effects to our HTML elements when we hover over them.
To do this follow the following steps
1. Write the basic HTML code.
2. Inside the head tag open up a
<style></style> tag for later styling of elements.
<html>
<head>
<title>The hover effect</title>
<style>
</style>
</head>
<body>
</body>
</html>
3. Inside the body tag create a div.
<body>
<div></div>
</body>
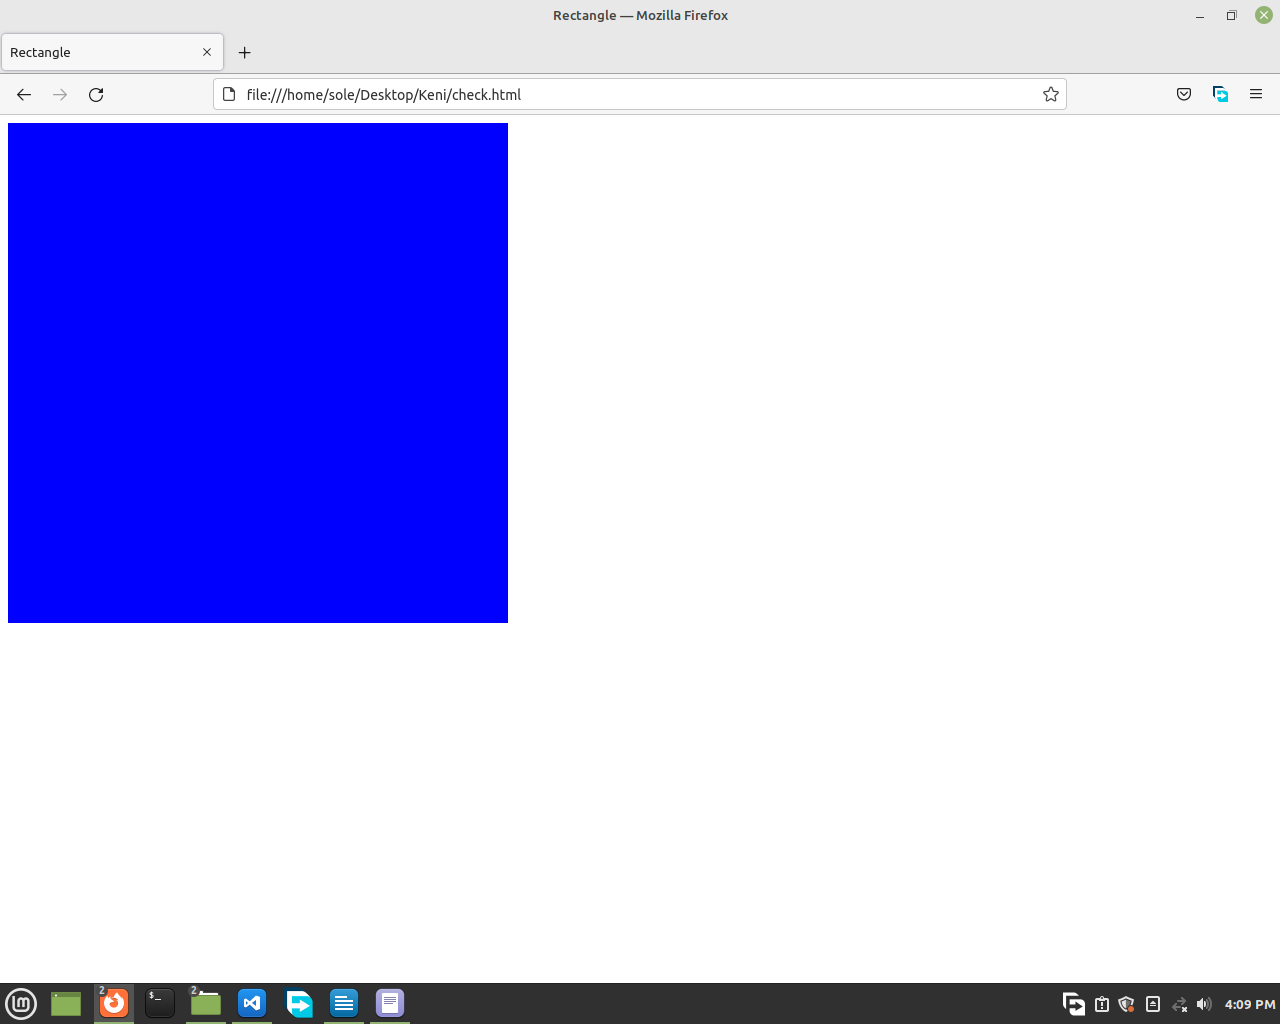
4. Go to your style tag and form a blue box that looks like the one below. Adjust it to the size you want. Maybe bigger or smaller.

😎 Do it by yourself! We have already learned how to create a rectangle in our previous lessons.
5. After creating a blue box, start a new line underneath the curly brackets
and write the following code.
<style>
div{
width: 500px;
height: 500px;
background-color: blue;
}
div:hover {
background-color: red;
}
</style>
🙂 As you can see from above, you should first write the element which needs the hover effect (in our case the div).
⭐ Then a colon (:) and the word 'hover' along with curly brackets should follow it.
⭐ Inside the
curly brackets, add any property you like to be when it's hovered over.
For example:
background-color: red;
🌟 This changes the background color of the div from blue to red when hovered over the div.

