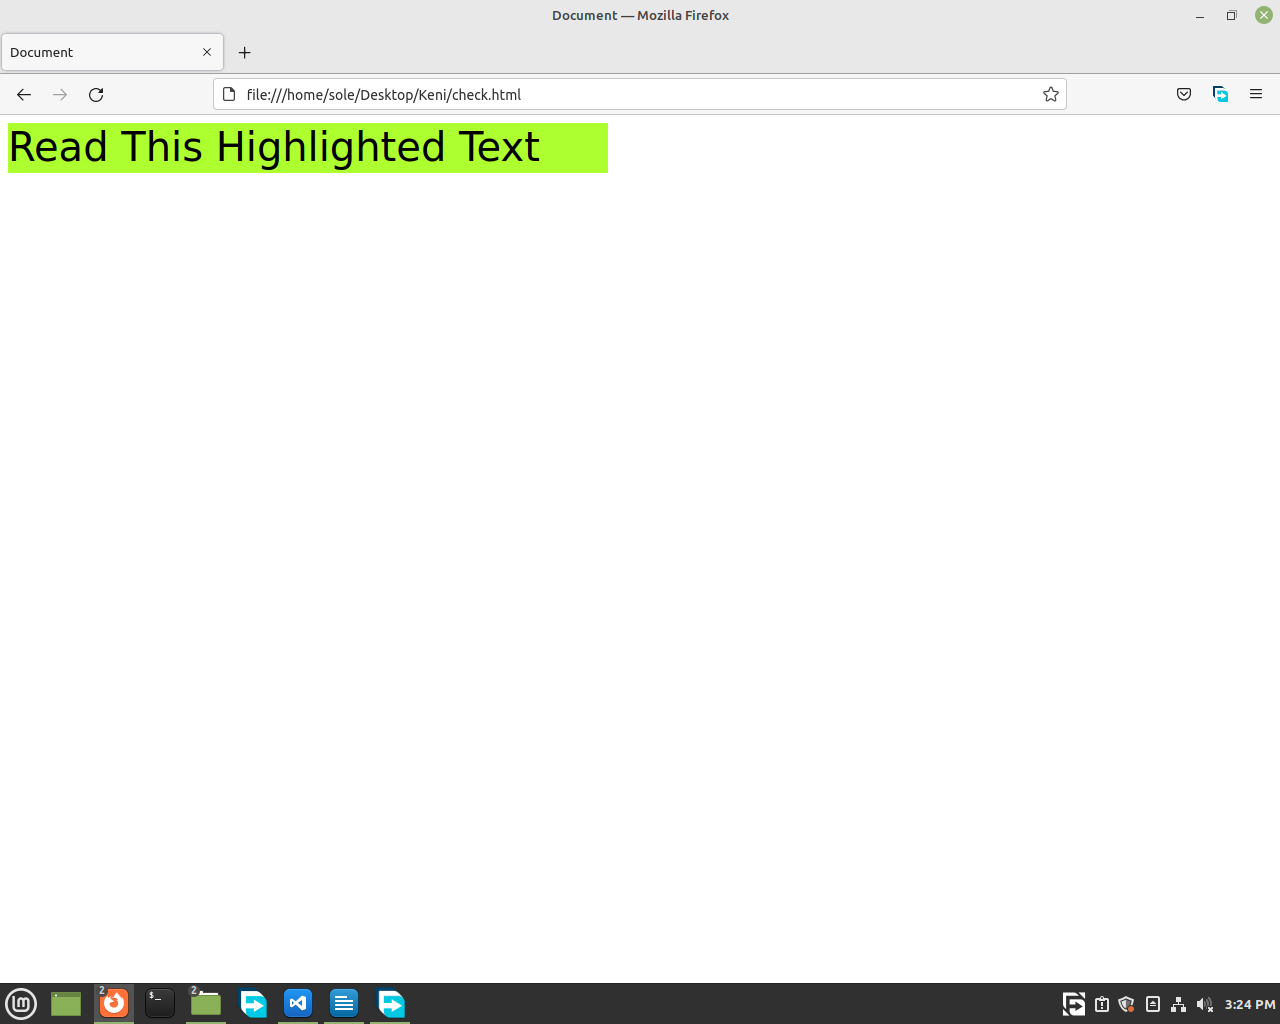
😉 Before and After are used to modify and create additional features to elements in html.
They are also called
pseudo elements.
🤩 But these elements should be elements that have both opening and closing tags.
Elements to which you can add before and after: <h1></h1>, <p></p>, <div></div>.
Elements to which you can't add before and after: <img/>, <input/>.
⭐ The example below shows how we can use before and after in css.

Now, it's time to create a highlighted text just like the above one.
1.Write your basic html code along with the styles code.
<html>
<head>
<style>
</style>
</head>
<body>
</body>
</html>
2. Inside the body tag create a p tag with a class of "read" and a text of "Read This Highlighted Text".
<body>
<p class="read">Read This Highlighted Text</p>
</body>
3. Style the p by giving it an increased font-size and another font-family of your choice.
<style>
.read{
font-size: 40px;
font-family: sans-serif;
}
</style>
4.Add a before pseudo element to your p tag.
<style>
.read::before {
}
p {
font-size: 40px;
font-family: sans-serif;
}
</style>
5.We need a greenyellow colored rectangle before the text right? So in this session you are going to learn how to create the rectangle using the before pseudo element.
⭐ Inside the curly brackets we should write the
code below. But before coding it, you need to read the explanation given underneath the code to understand the concept.
<style>
.read::before {
content: ' ';
position: absolute;
width:
600px;
height: 50px;
background-color: greenyellow;
z-index: -1;
}
p {
font-size: 40px;
font-family: sans-serif;
}
</style>
The text in the rectangle
🌟 The content property we defined inside our "before" pseudo element, enables us to write anything we want inside the new greenyellow colored rectangle we created.
🌟 Try writing any
text of your choice inside the content property. The result will be a rectangle, having the text inside the content property.
🌟 In our case we don't need any text in our rectangle so we just let the content be empty.
The Rectangle
🌟 We gave the new element we created using the "before" pseudo element a width and height for it to be a rectangle. We also gave it a background color so that it would appear on our webpage, since the
default background color is transparent.
The Positioning
🌟 If you try to remove the position and z-index property from the code, the rectangle we created won't appear on your webpage why??
🌟 If you have a content, you don't need to make the position
absolute for your new element to appear but since we don't have a content in our case our rectangle won't appear without making the position absolute.
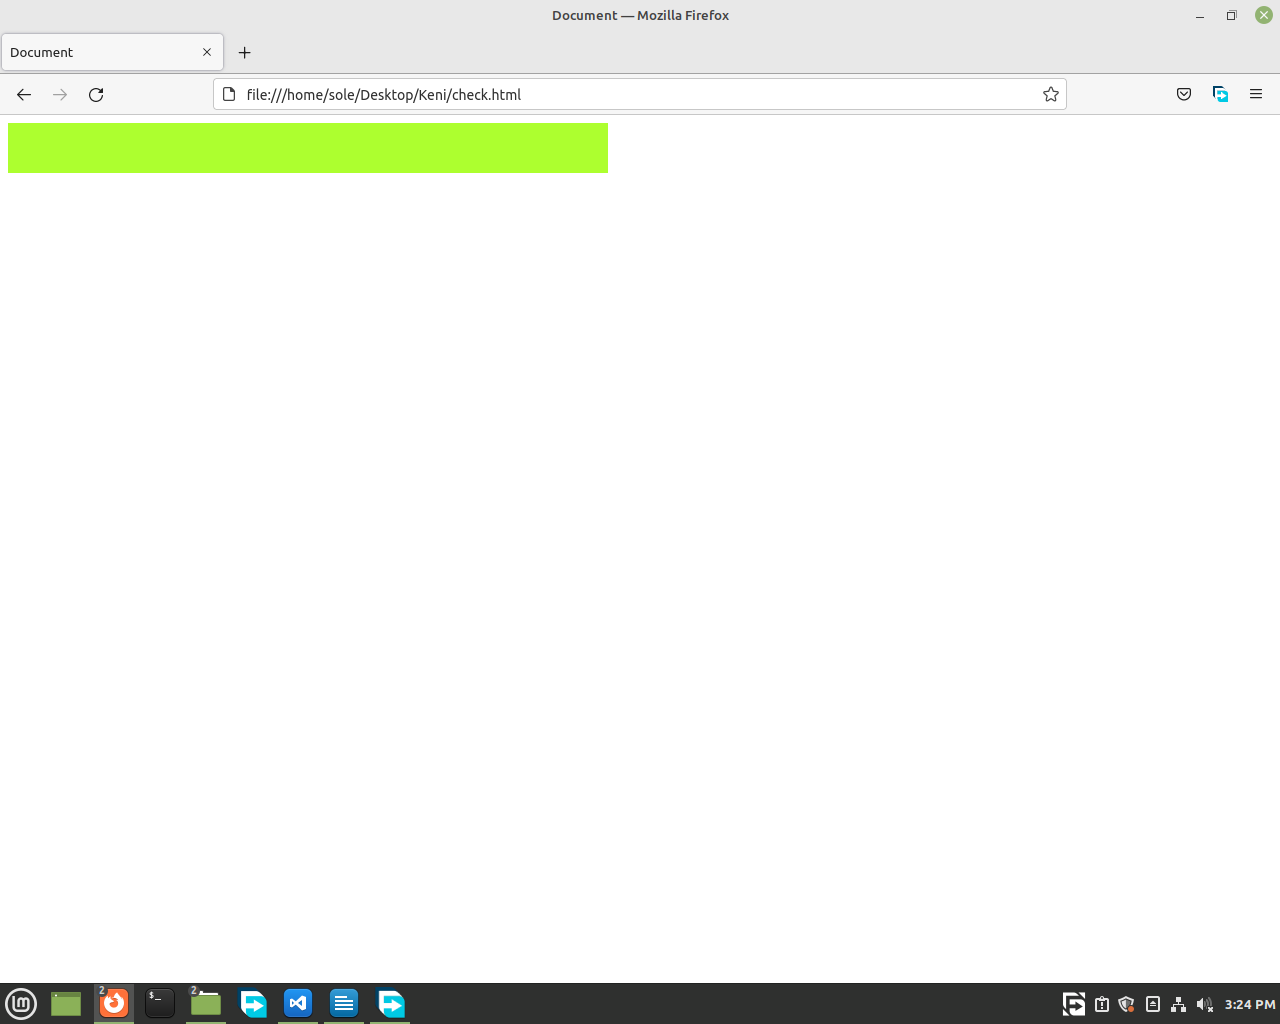
🌟 If you make the position absolute and don't add a z-index property this will
happen.

🙂 Z-index is necessary to take the rectangle we created to the back of the text in our p tag.
😎 As you learned in the previous lesson z-index of -1 takes our rectangle
to the back.
And don't forget you can use ::after as you use ::before. You can use both of them together or you can use one of them.


